Jam jar cobblers are a fun farm-to-table dessert! I make these with Edible After School to sell hot at the Pescadero farmer’s market and I often use this recipe as a sweet-tart country finish for farm events….

Strawberry, rhubarb, raspberry jam jar cobblers
The best thing about making these for farm events is getting all the kids together to make the biscuit topping. While the cobblers are baking away, I teach the kiddos how to make whipped cream (yes, I suppose this is child labor). I had one little girl who got so excited about the whipped cream that she insisted on being the server as well so she could dole it out to our 60 guests and make sure that everyone would get the exact same amount. Very fair of her, I thought. She was kind enough to walk around the tables with a huge bowl of cream and deliver a perfect dollop on the cobblers. Very cute.
But this cobbler pictured below was hers. It still cracks me up to no end because it’s something I would do – look at that generous wollop of a dollop! The cobbler, obviously just a vehicle for extra thick rich lightly sweetened soft and fluffy whipped cream.
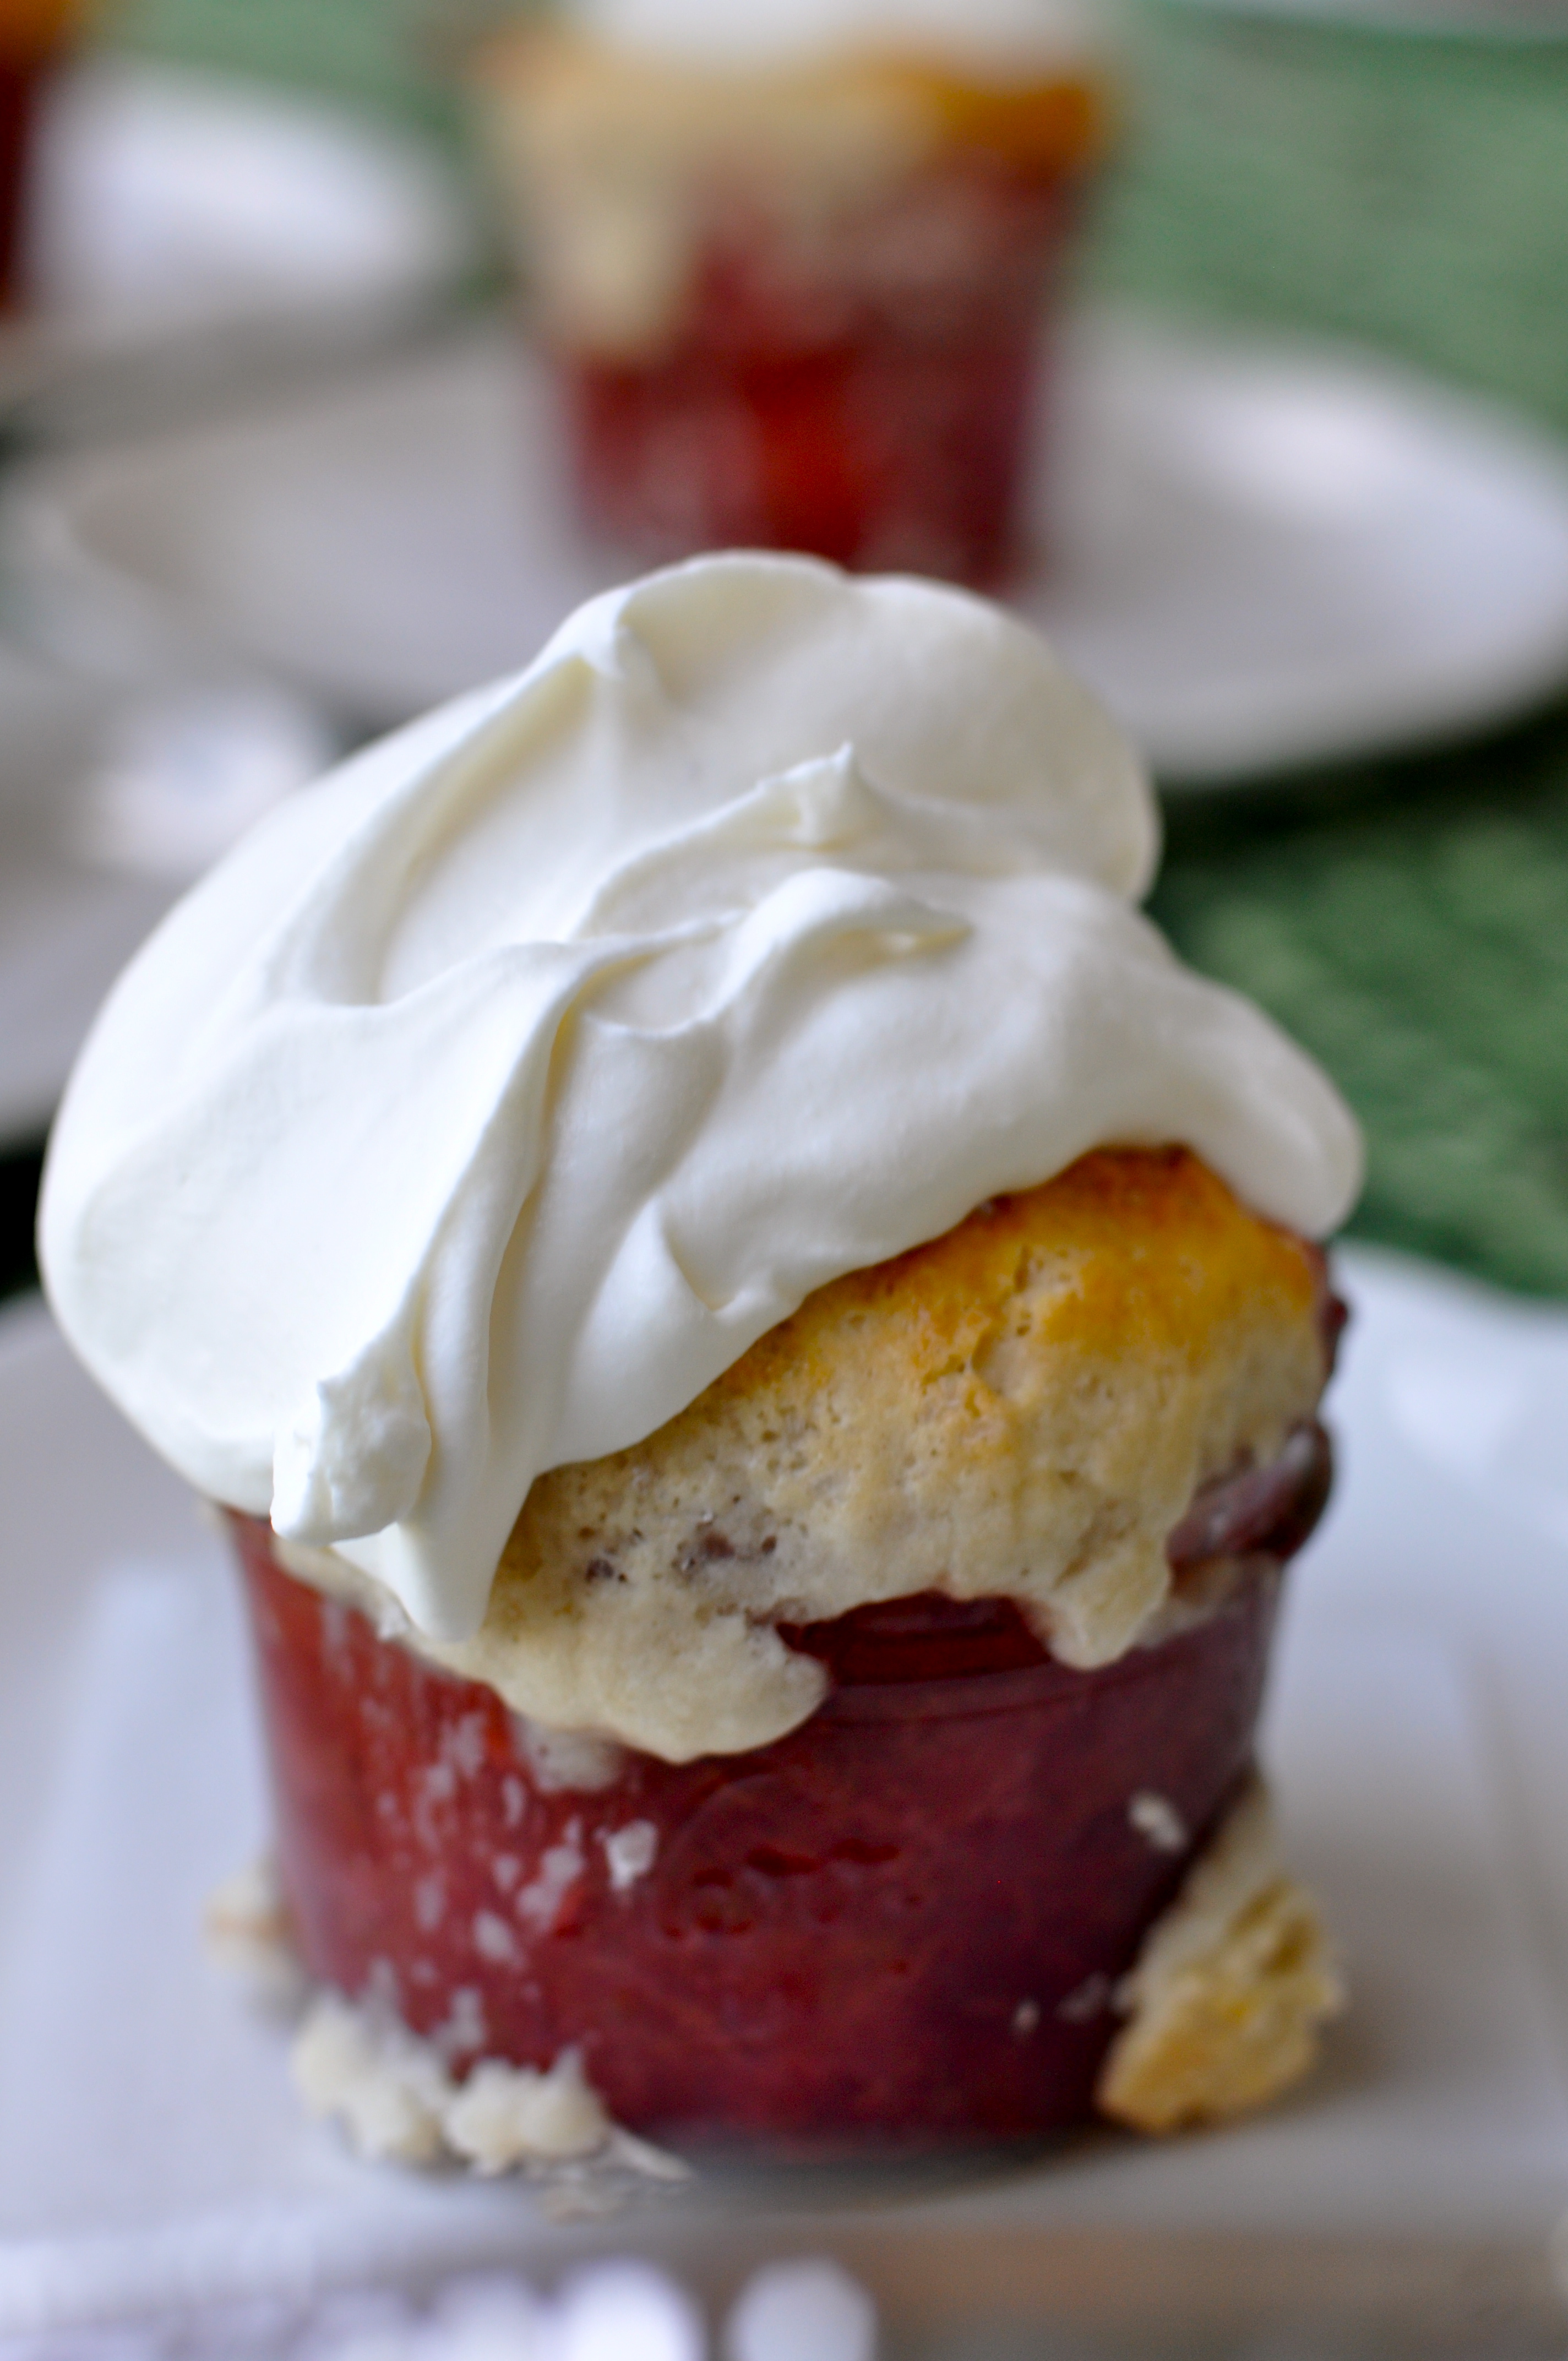
Whipped cream – a must for berry cobblers!
If you cook the filling in the jam jars with the biscuit dough on top there will be shrinkage as the berries soften and the biscuit topping won’t poof up and over the jar – which is the way I like them. Notmartha (Megan Reardon) makes these to sell and as gifts and she bakes the filling and biscuit topping below the top of the jar so she can screw the lid on afterwards, which is also a great idea. But I think the country looking puffy cobbler is more preferable as a plated dessert. I cook the berries in a large batch on the stovetop, then fill the jars up to the first ring.

My Mom helping out on at Tunitas Creek Kitchen on Potrero Nuevo Farm
Once the jars are filled and cooled, the lids can be screwed on and refrigerated or frozen. When ready to cook, its best to heat ’em up in the oven first (with lid off of course) and adding a scoop of biscuit dough overtop once the filling is hot and bubbly – the biscuit topping will cook much better like this. I have never had any jars break in the oven and I’ve made these hundreds of times. Feel free to add a little cornmeal crunch on top of the biscuit dough or use some fancy crystal sugar.
Hope you have fun with this recipe! it’s a great way to showcase fruit at its peak and it’s so much fun to make kids!
And Happy Valentine’s Day! xoxxoo
For all my GF friends out there, the biscuit topping can be made with Cup4Cup all-purpose gluten-free flour.
Ingredients
- Filling:
- 9 cups berries (raspberries, blackberries, strawberries, chopped rhubarb, blueberries, etc)
- 1/2-3/4 cup sugar (add more if you add rhubarb)
- 1 tablespoon cornstarch (optional, I don't always like the filling to be thick and the cobblers are great without it too)
- zest of 1 lemon
- 1-2 teaspoons cinnamon
- Biscuit topping:
- 4 cups all-purpose flour (can use cup4cup gluten free flour too)
- 1 tablespoon baking powder
- 1 teaspoon baking soda
- 1 teaspoon salt
- 1 teaspoon sugar
- 2 sticks (1 cup) unsalted butter, cold, cut into small pieces
- 1 3/4 cups buttermilk, plus more for brushing
In a large mixing bowl combine the sugar, cornstarch (if using), berries, lemon zest, and cinnamon. Toss gently to coat. Once the sugar begins to draw out the juices, about 5 minutes, cook half of the mixture in a medium pot along with all the juice over medium low heat until fruit is soft and cooked down. Mix the remaining berries into the cooked filling and spoon into wide mouth jam jars up to the first ring. (I like real chunks of fruit in my cobblers which is why I reserve some of the berries so they will be whole).
If cooking at a later date, allow the filled jars to cool, then screw the lids back on and refrigerate or freeze. If continuing on with the cobblers make the buttermilk biscuit topping: in a large bowl, whisk together flour, baking powder, baking soda, salt, and sugar. Cut in the butter with your fingertips or a pastry cutter until the mixture resembles coarse cornmeal. Make a well in the middle of the flour-butter mixture and pour in the buttermilk. Using a spatula, fold buttermilk into the dough, until the dough just comes together. The dough will be sticky. DO NOT OVERMIX!
Heat oven to 425˚F and place filled jars on a baking sheet and pop them into the oven. Once the filling is bubbly and hot remove carefully from oven and spoon biscuit dough overtop. If you want, you can sprinkle decorative big crystal sugar or cornmeal adds a nice touch too. Replace jars back in oven and cook for 15 minutes until biscuits are golden brown.
Allow jars to cool slightly before serving. And of course top with a HUGE dollop of whipped cream!
[wcs_qr_code size='200' color='000000']


That’s a great photo of your mom – you have her smile.
This is an excellent straightforward recipe for the dessert-challenged like me and your student has the right idea as to la quantité parfaite de crème fouettée. Making large quantities for later service will have to wait – still usurious pricing and the current storm whacking the Eastern seabord isn’t going to help things.
What are the size of the jars? 4 oz (125 mL) ?
Hi Wattacetti! Thanks for your note!
The jars are half pint, 8oz mason jars. I’m sure the full pint could be used too but I find this size is just right. Sorry about the crazy freezing weather, we are having just the opposite problem and heading in to a another drought year.
In a pinch if you’re pressed for time or just want an easy fruit dessert you can also use Bisquick or some pre-made mix for the topping (even though I know you would NEVER do that).
I made an error with the sugar and lowered it. I double and triple the recipe all the time and had waaaay too much sugar in the original posting….